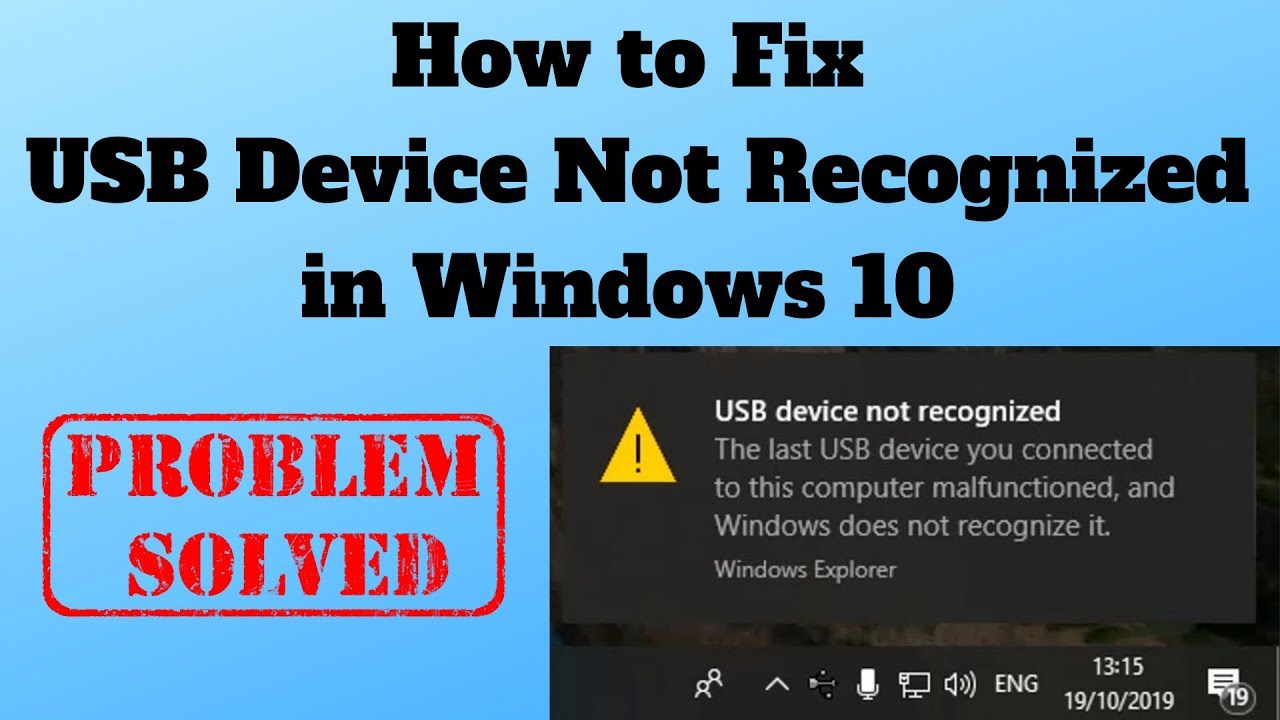
Are you running your own small enterprise or are you someone whose computer is accessed by random people? Well if this is the case then you need to be very careful because a hardware component attached to your computer can make drastic changes not only to your computer but to your life. These days most of the external hardware components come with a compatibility to get attached to USB drive.
To protect yourself from information theft or from any suspicious activity first thing you should do is to disable USB ports and to enable them only when it is required. So far you might have understood that why you should block USB ports to ensure your security on your computer and here are some easy ways to do this by yourself.
How To Disable USB Ports On Windows PC:
Method 1 By editing registry
It may sound a little techy to go for registry edit but in real you can do this in simple steps. Here is step by step guide to block USB ports using registry editor which is available by default on your Windows computer.
Step 1:
Press Windows and R key on the keyboard to access Run menu.
Step 2
Type “regedit.exe” in the run dialog box and hit enter key. It will ask you for the permission to allow app to make changes in your computer. Click yes to continue.

Step 3:
Now you will see registry editor menu open in front of you. Navigate to following path
HKEY_LOCAL_MACHINE > SYSTEM > CurrentControlSet > Services > USBSTOR

Double click on start from the given options this will open another dialog box labelled as Edit DWORD (32-bit) Value. Default value data will be 3 change it to 4 this will disable USB ports.

Click ok and restart your computer this will block USB ports on your computer.
Next time when you want to enable these ports simply change this value from 4 to 3 and you are done.
Method 2: With the help of device manager
If you are not confident enough to edit registries as it is a critical area then you can alternatively choose to disable USB ports by using device manager on your computer. Here is how you can do this.
Step 1:
Press Windows + X key on your computer from the utility menu choose Device manger probably fifth option from the top.

Step 2:
In the bottom most of the device manger you will see universal serial bus controllers. Click on drop down button given next to it.
Step 3:
You will see the list of USB devices here you need to right click on the devices and to choose disable option. This is how you can block USB devices on your computer using device manger.

So, these were some simple methods to Disable USB port on a Windows computer. If these methods are too technical then you can choose a nice software to lock USB ports. Some of these software work for both Windows and Mac and you can secure your computer by using them.
Please share your thoughts on these methods in the comment sections. And if you have any better way to block USB ports then please feel free to share.
FAQs:
Should USB ports be disabled?
Answer: You should disable your USB ports. So, when you are not around your laptop or PC no one will be able to steal your data through USB drives.
Why do companies disable USB ports?
Answer: So, that the employees will not be able to transfer confidential information of companies. And more importantly they will not be able to install any malware or virus through USB drives.
How do I safely use a USB?
Answer: Before using any USB drive you should keep following things in mind:
- Don’t use unknown USB.
- Scan drive before opening them.
- Don’t open any unknown files in the USB.
- Run an antivirus scan after using the USB.
- Disable auto-run
What is the best way to Block USB Ports?
Answer: Using a USB blocker software would be the best idea. Because when you block with manual methods anyone with a little bit of technical knowledge can unblock your USB drives again. But when you block with software then can not unblock your USB ports. Because in this case they will have to access your software and most of such software come with password protection.


