Having a video screen recorder in your Windows computer is a good affair because you can just record anything that is happening on the screen. The content that is recorded can be used for anything like giving a presentation, uploading the video on YouTube or showing your previous night gaming skills to your friends. So which is the best way to capture video on Windows and how to record screen effectively? All the answers could be found and explored by scrolling through the blog below.
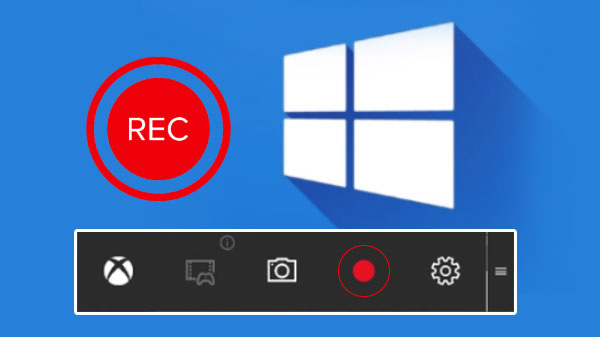
Screen Capture For Windows
One of the best ways to capture a screen on Windows is using the tool called TweakShot screen recorder. This is an all in one tool which is good for recording screen activity, webinars and any content which is being streamed at present. Apart from that, you can record webcam feed, system sound and speaker voice with a microphone.
One can capture the full screen, selected region, selected window or webcam, as personally required. The best part is that the videos recorded are high quality in the form of HD or 4k and can be recorded in one single click.
How to use TweakShot Screen Recorder?
In order to record or capture a screen for Windows, follow the steps mentioned below.
Step 1: Install and launch TweakShot screen recorder on your computer.
Step 2: Open the tool and select the screen recording options from the interface.
- Full screen: This option will record the full screen available in front of you.
- Select region: This helps in recording a selected area only.
- Select window: It records the window you have selected for recording.
- Webcam: If the webcam recording needs to be done, you can choose the option for the same.

Step 3: To record the window, you just need to click the ‘Record’ button. While you click the button, there will be a 3 seconds countdown on the screen. (However, you have to understand that Tweakshot will record video via system speaker and if you wish to record with the microphone, click the mic icon below.)
Step 4: Choose to customize the recording if you like by clicking the arrow right next to Format, Frame rate and Size while visiting Quick Settings and click the record button.

Step 5: Click the stop button or red button to save the recording in a location. And that was it. Your screen has been successfully recorded.
If you wish to see what has been recorded on the screen, go to the ‘Recordings’ section here and check out all the recordings in one place. That was simple, right?
With this, let’s also find out other features of TweakShot screen recorder and why it is called as an amazing and free screen recording software on Windows.
- TweakShot allows you to record the video of any time limit without bothering or pinging you in between about different offers and ads.
- You can customize the watermark based on your needs and choice. All you have to do is go to Quick Settings > under ‘Watermark Overlay’, choose Customize option. Here, you can edit your own watermark so as to protect the video from being copied outside.
- It is suitable for any profession or students as it is very easy to use and work upon.
- One of the best features of this screen recording software is hardware acceleration which makes the video processing very smooth and fast. You can click the three horizontal lines at the top, click Record and tick mark the box next to ‘Enable Hardware Acceleration’.
- Moreover, you can change the FPS by clicking the arrow next to Frame Rate. This rate can be changed from 10 FPS to 120 FPS easily.
- Work on the audio quality by deciding if you wish to record the video with audio or not. You can even record the audio separately, record the screen with system or microphone audio, as per your liking. TweakShot has everything to offer you as you may wish.
- During webcam recording, you can decide where you would like to place yourself in the overlay during the recording. You have got all the ease while keeping TweakShot in your computer.
Wrap Up
We hope that you have found out how to record screen on Windows or capture the video screen easily through this blog. It is in fact good to keep a video recording software in your computer so that you can record anything anytime, be it your working session, office meeting, live demo session or simply that is going on the screen. Have you tried downloading the tool and recording a video on your computer yet? If yes, share your experience with us in the comments below.